Off to the Caymans

A Bag Change…

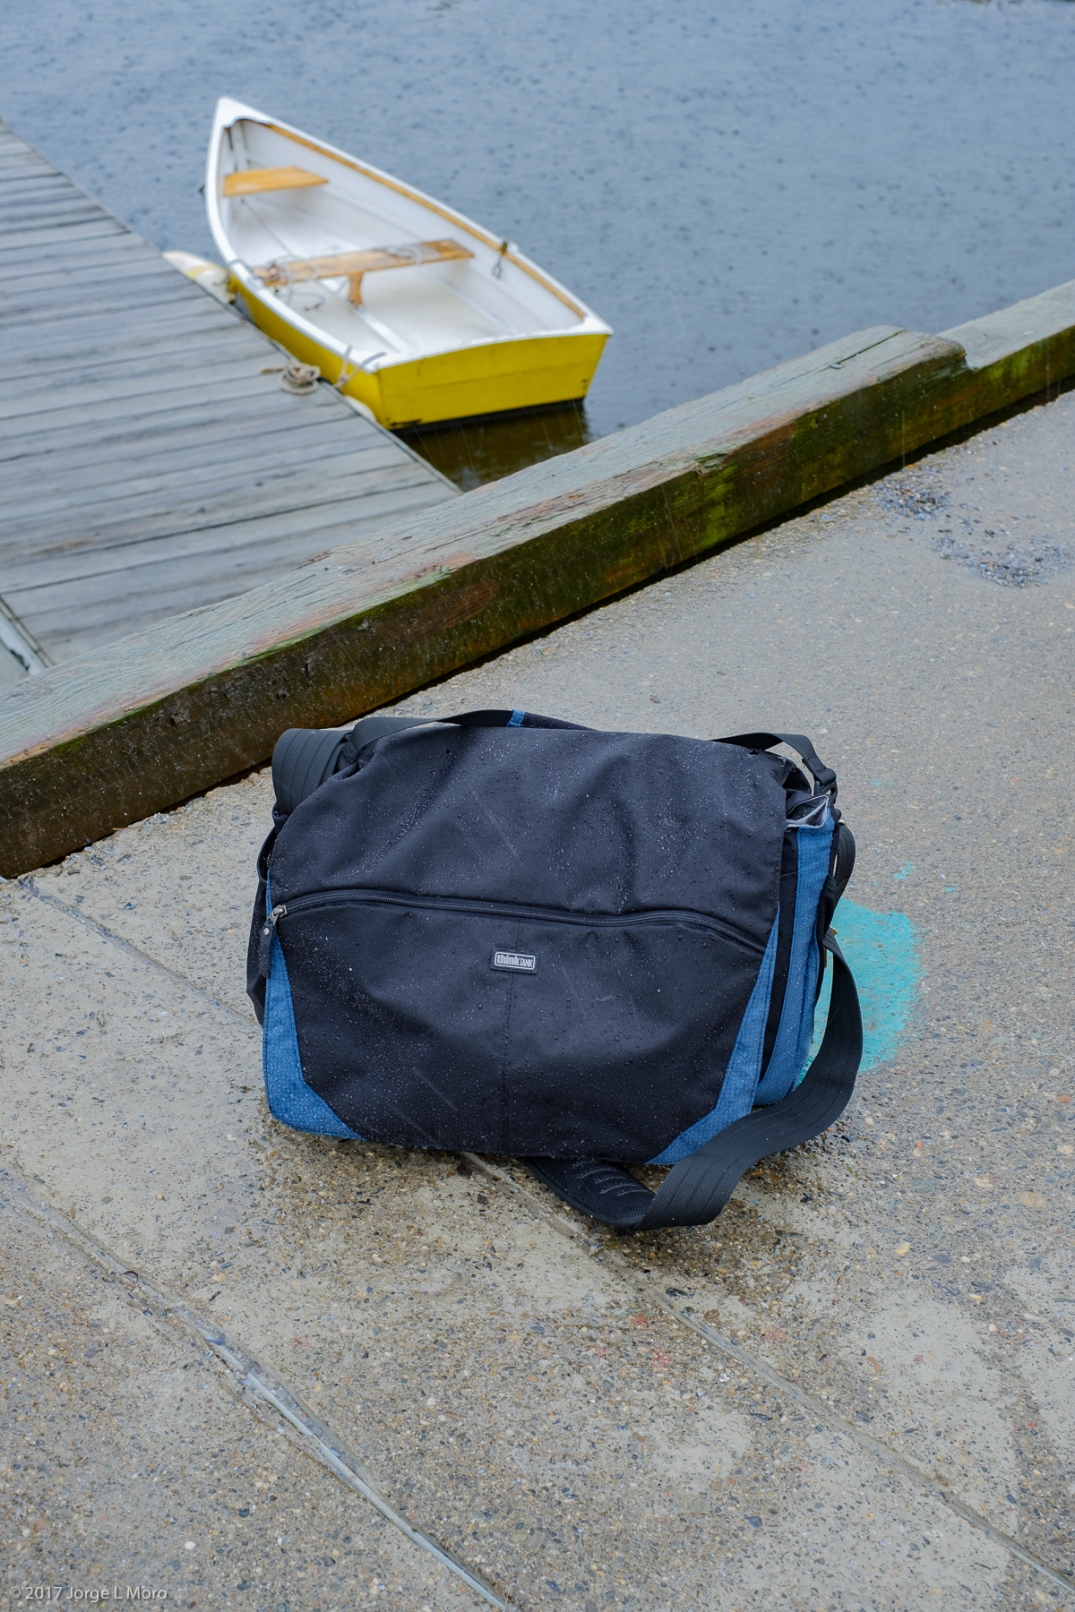
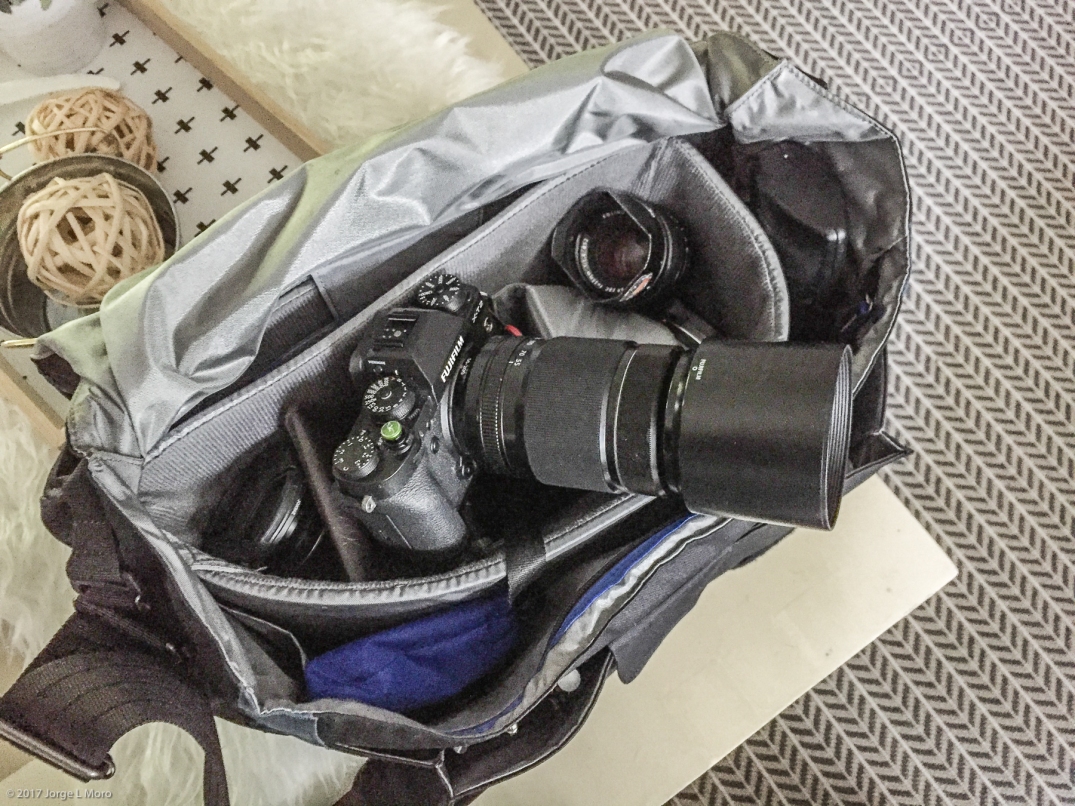
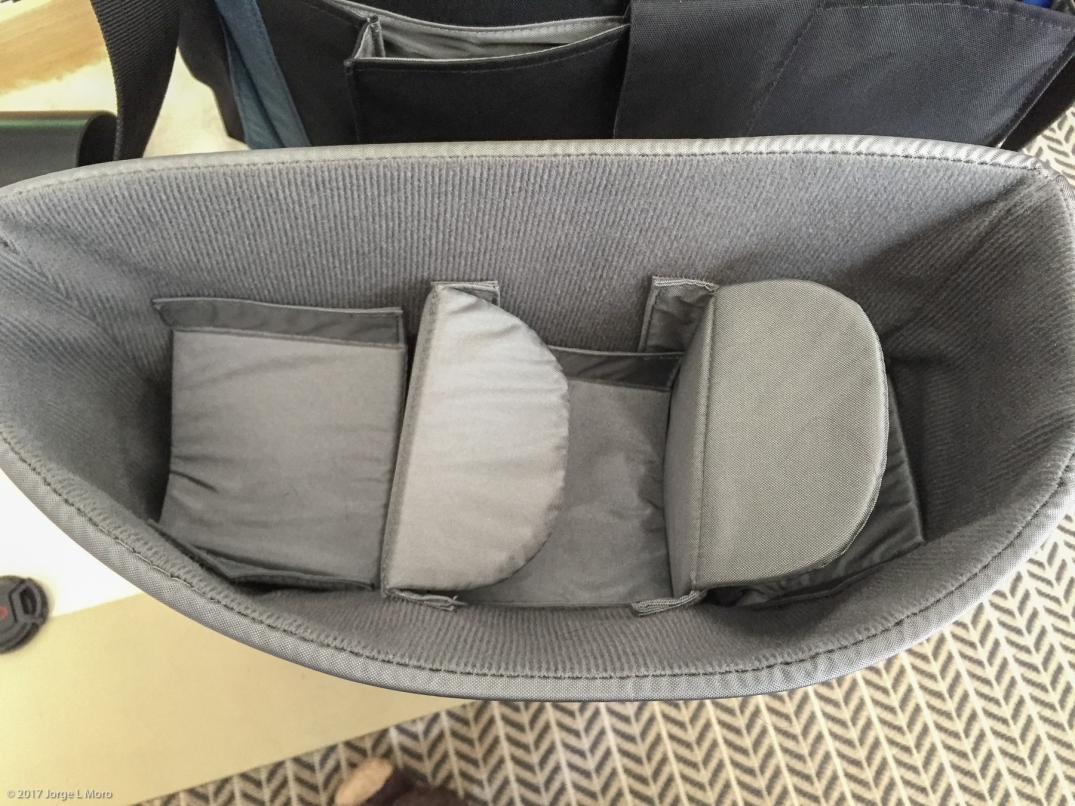
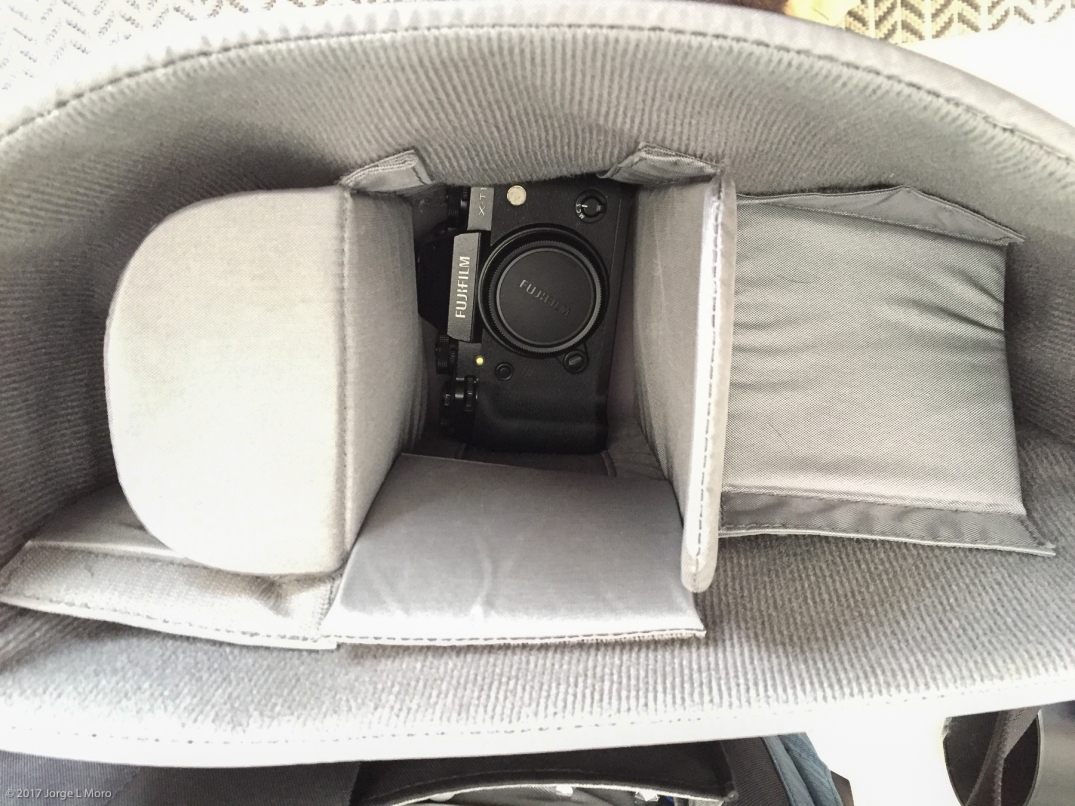
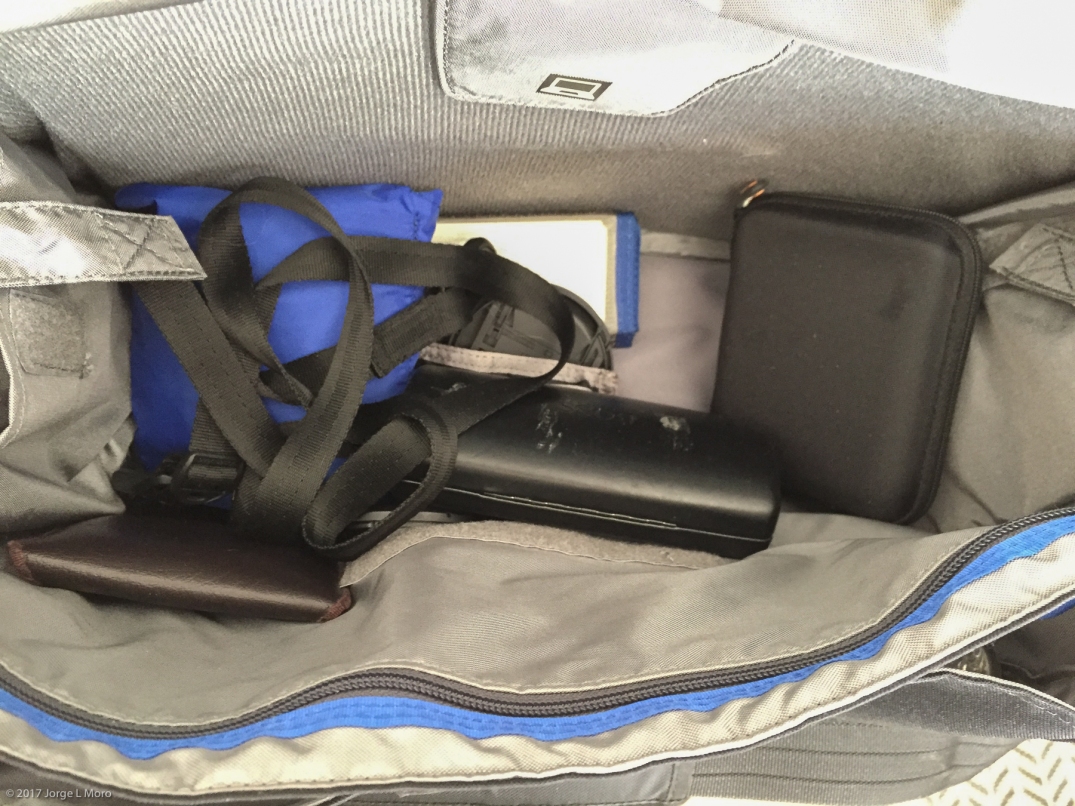
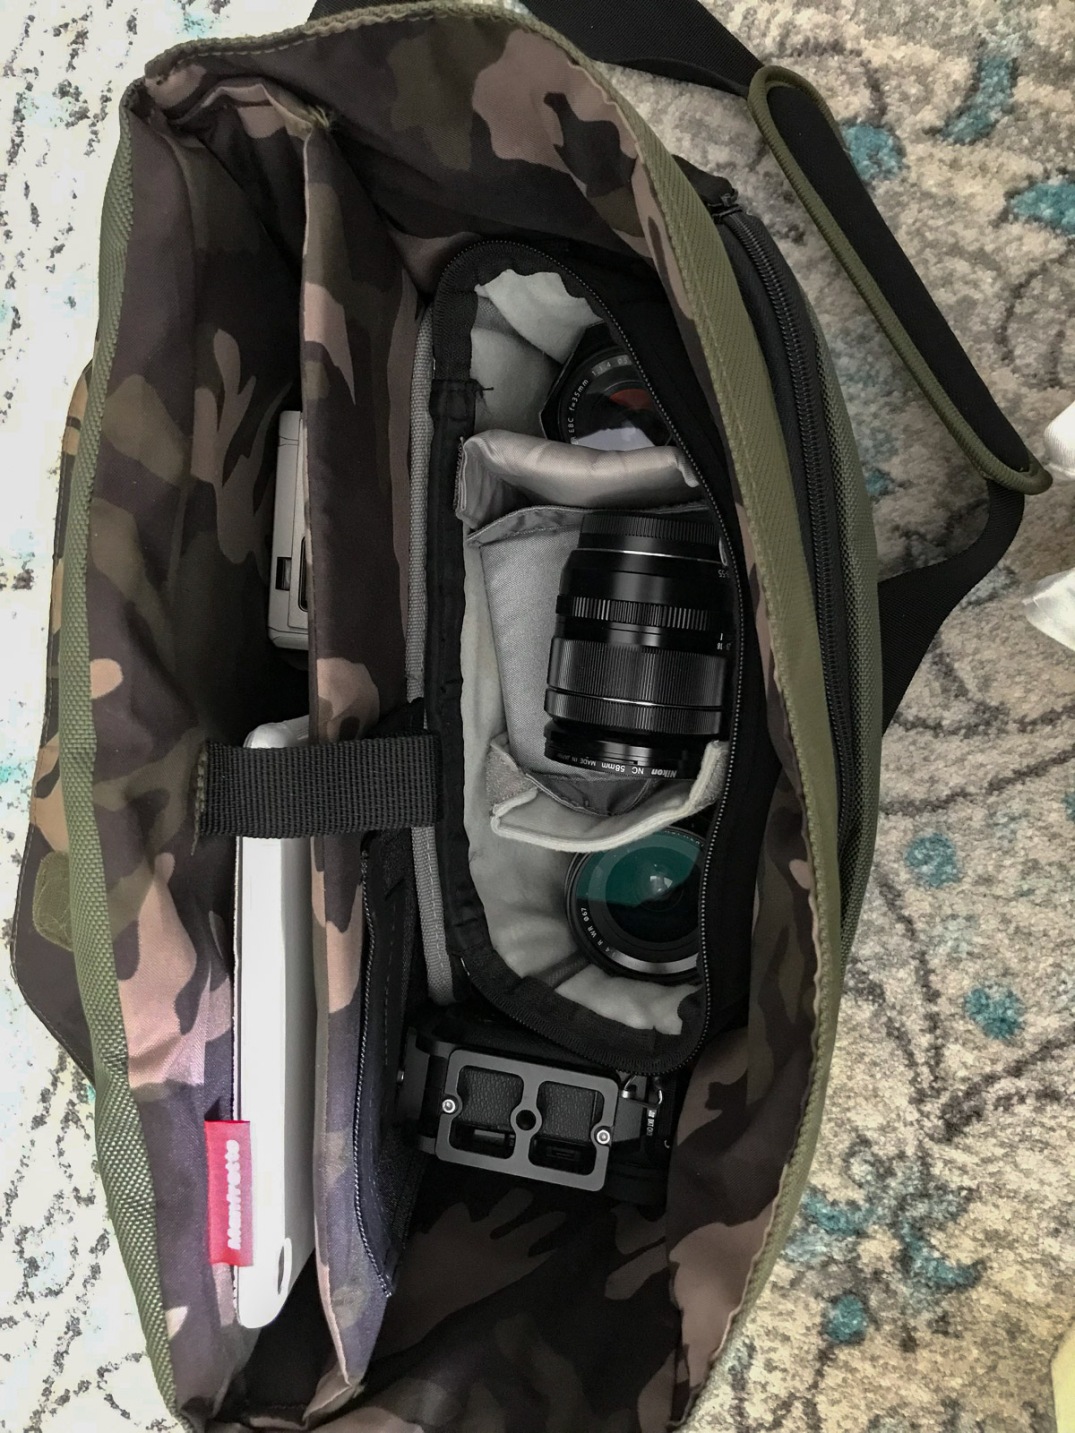
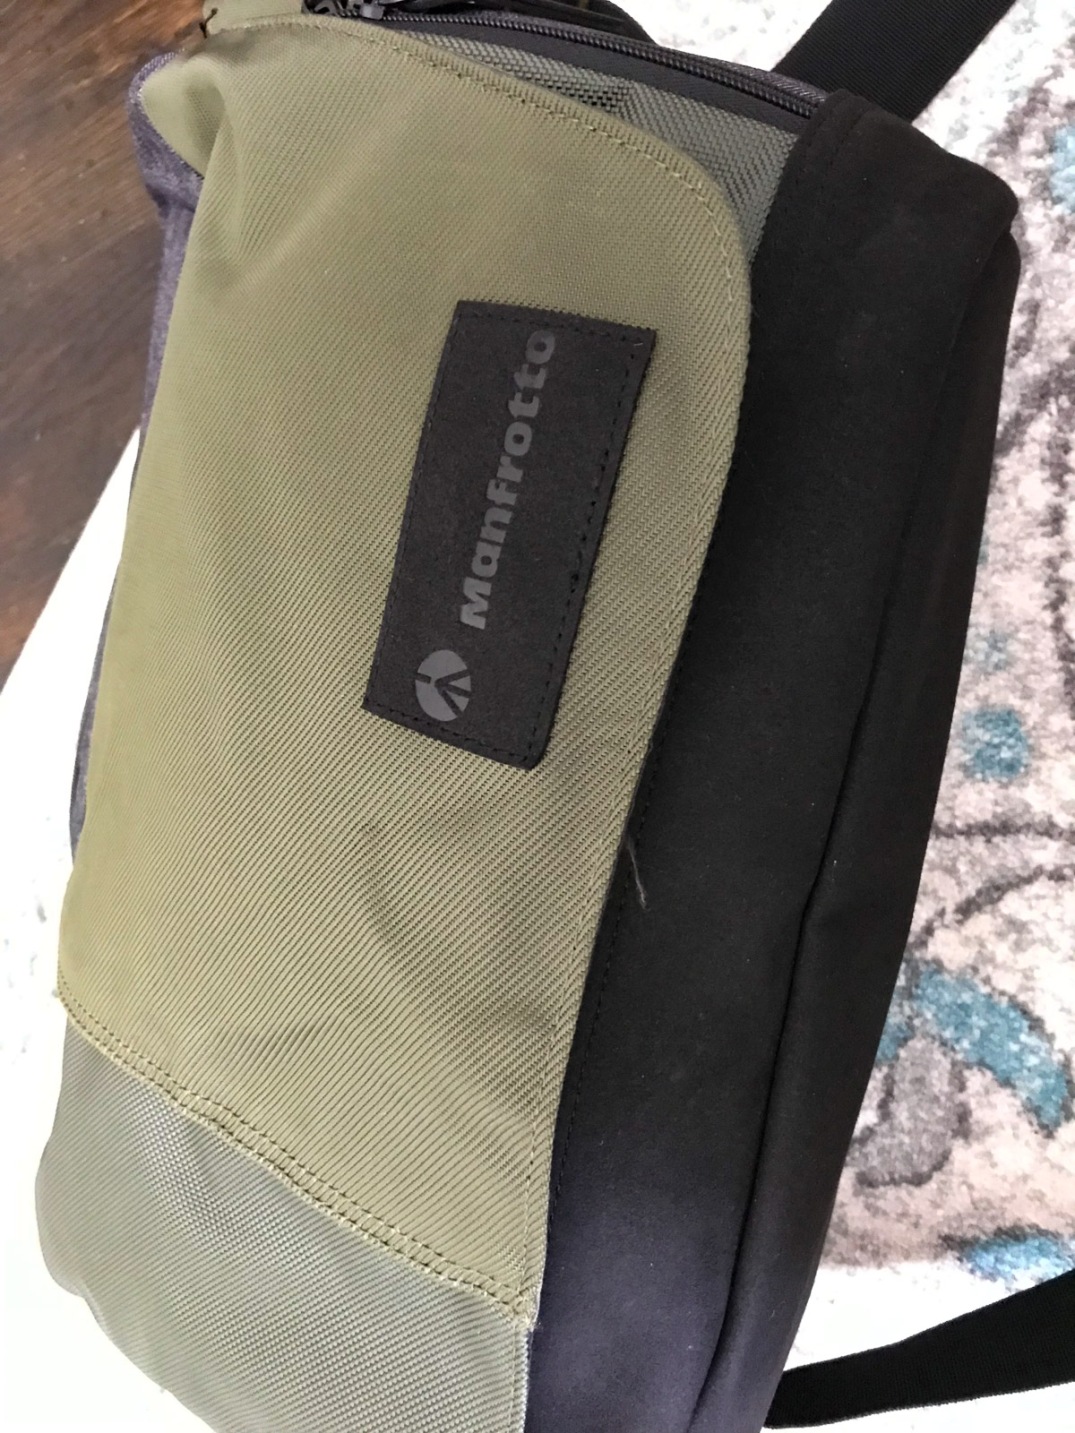
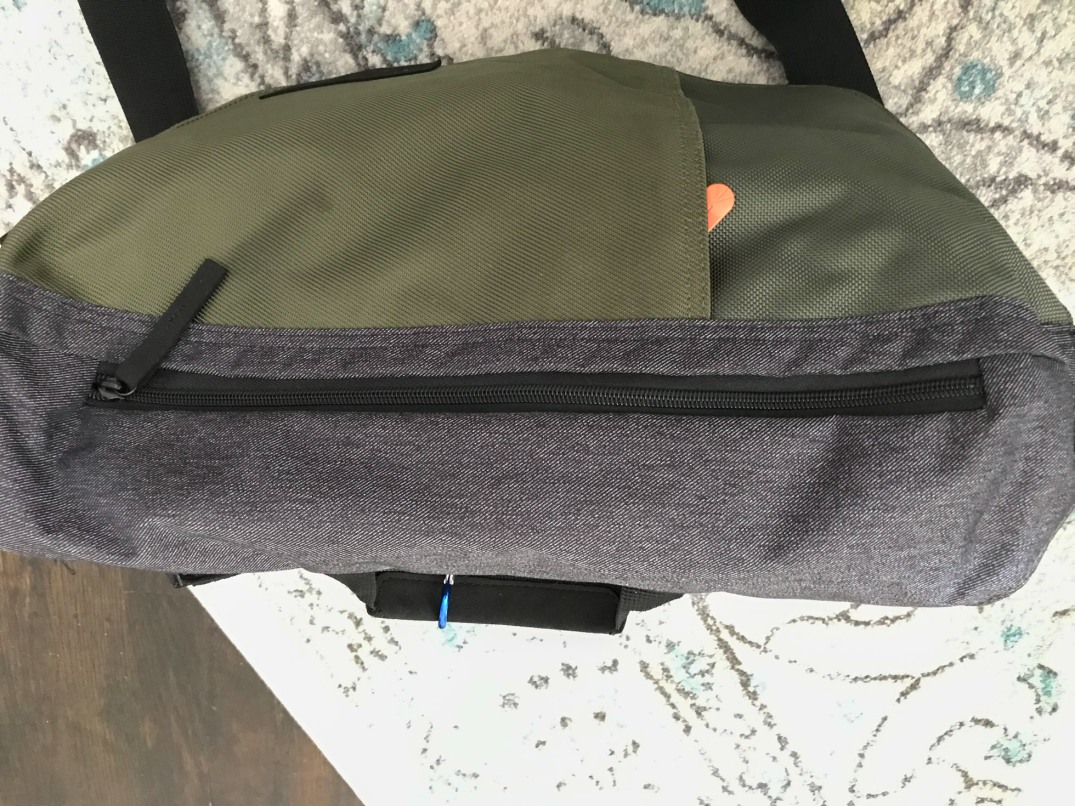
I decided to use a different bag than the one I had selected below.  This one was another one I picked up for like $30.00 US from either B&H or Adorama on one of their many e-mail blasts I get from them during the year.  This one as you can see from the images is a bit longer, same width, but it has some nice features such as top ingress and egress — in other words I don’t have to open the flap to get camera or lenses out.  That’s a very nice feature in crowded areas.  It also has a very, very deep pocket on the flap – shown with the orange zipper, where I can put my passports, travel documents, phone, etc.  I love that feature!  Inside I placed one of my three inserts;  even though I do have larger and deeper inserts, the one I decided on here is, thinner so as not to make the bag sit as wide, and semi-flexible so I can bend it at will without damage.  This bag still fits under the airplane seat which was my goal for this trip, together with keeping it light and simple.  Since I’ve also decided to pack my 35 1.4 you can see everything fits much better.  Up against my body the bag holds my 10.5″ iPad, and three Mavic Pro batteries. I also have a pocket inside the flap, one under the flap, one in the back.  The pockets and flaps are everywhere!  The only downside of this bag is I do not like the cammo look inside.  That is the only reason I don’t use this particular bag.  Once I arrive, the bag will shed the drone batteries, and pick up my filter pouch which is going in my checked bag.  I doubt I will leave the hotel with all four lenses each day – it really will depend on what I intend on shooting so the bag will be smaller and lighter than it is now – even though I think it’s just perfect as it is.

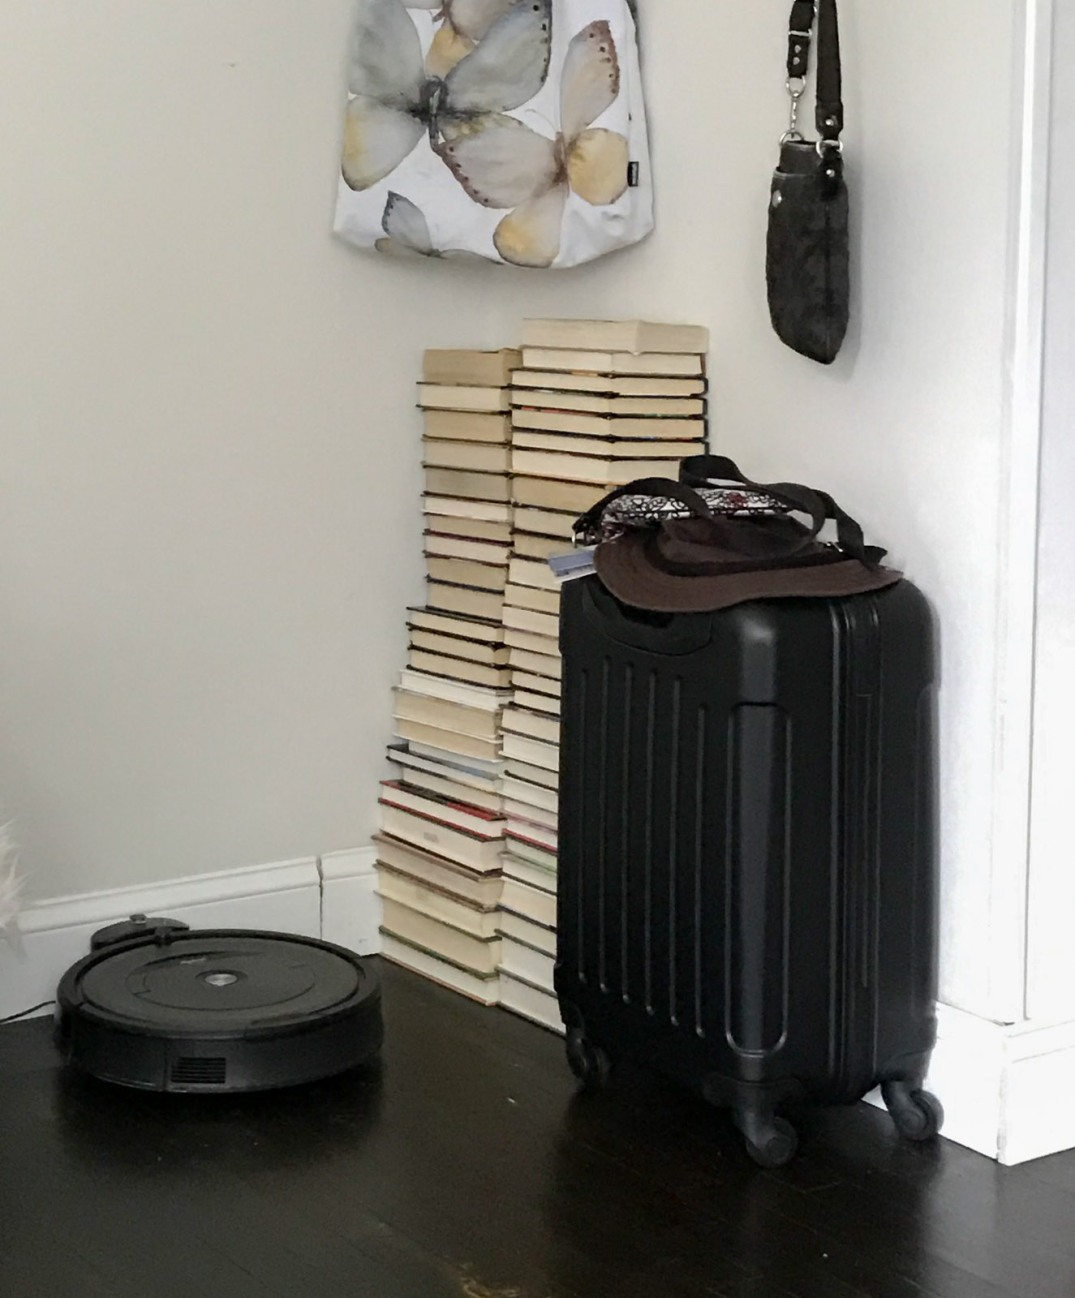
Oh… See the black roller suitcase? That my friends is my winter project as I’m converting it into a foam lined, sealed, camera, lens and drone carryon, or check in bag!  I’m so excited about that project that I’ll attack when I have some time.  Right now as the title says I’m off to the Caymans.  I am still reviewing and will be editing over 1800 images from my time in Iceland back in April; and I have another 400 or so images of miscellaneous shoots and small day-trips to review.  I also have over 2,000 images I need to title and keyword for stock use.  So this winter will be very busy for me.  But, I digress…Here are the bag images.  Let me know what you think.

IMG_7061
Collection of Bags
IMG_7062
Interior of the Manfrotto
IMG_7063
Manfrotto bag
IMG_7064
Top zipper so don’t have to use the flap, and the deep side pocket

IMG_7065.jpg

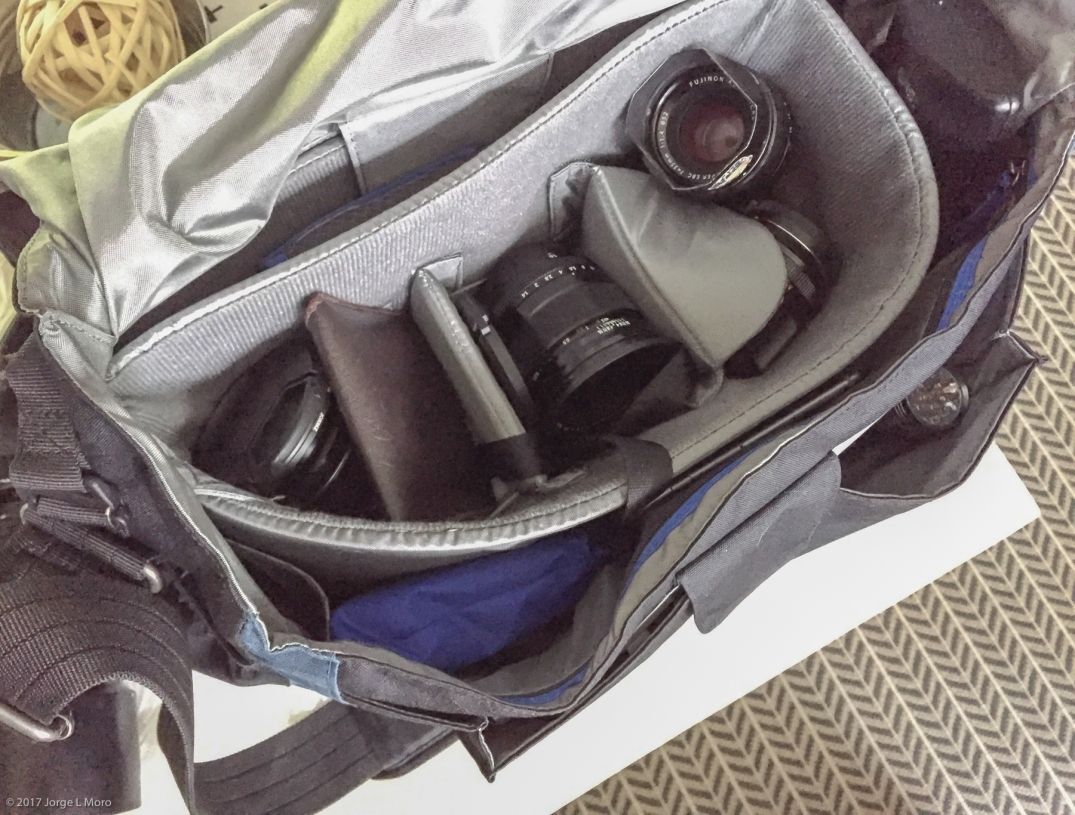
After returning from Coastal Maine last week I am now planning, packing and preparing for a trip the the Cayman Islands.  For this trip I’ve decided to lighten the load; both in-transit, and while on the ground. Instead of taking my super reliable, 10+ year old, $40.00 backpack which has been everywhere with me I’m taking a small Lowepro Streamline 250 that I picked up on sale at Adorama for US $20 via one of their emailed fire-sales.  This is the sole bag that will go on the plane with me under the seat. Together with my camera and lenses I’m also packing my three drone batteries in this bag as the Lithium batteries are not allowed in check-in luggage. The bag came with one divider, but I’ve added some dividers from other bags in order to pack my lenses securely.

LowePro Streamline 250

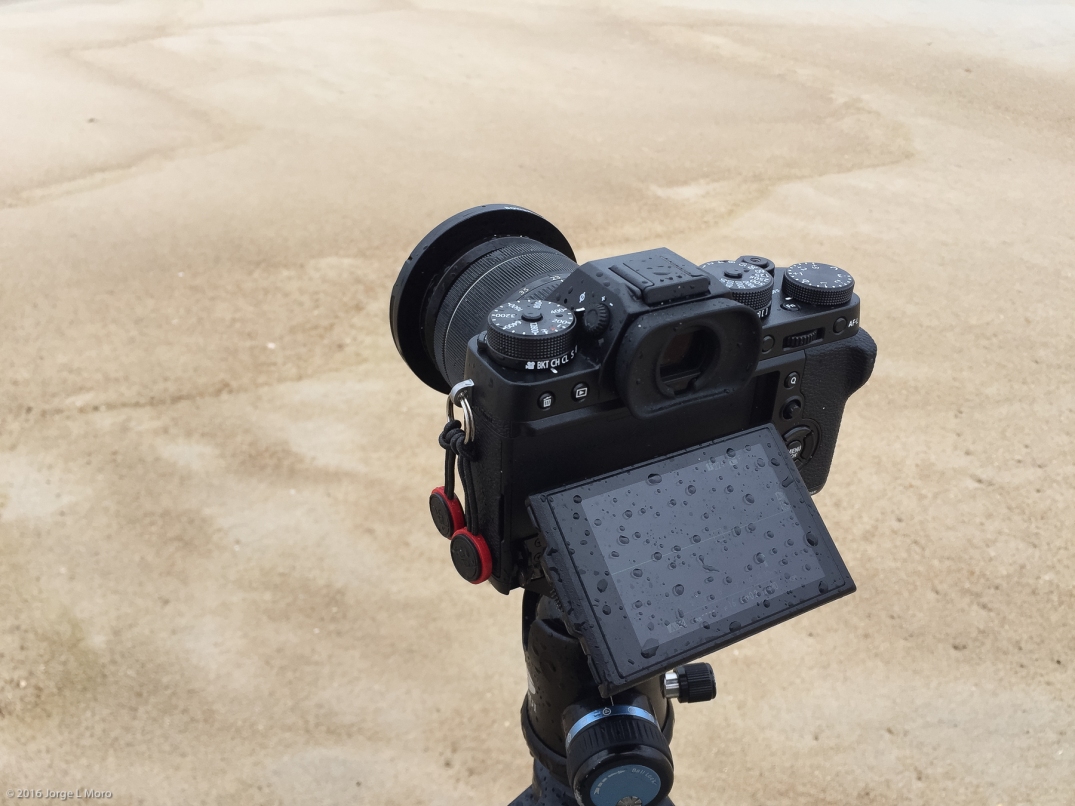
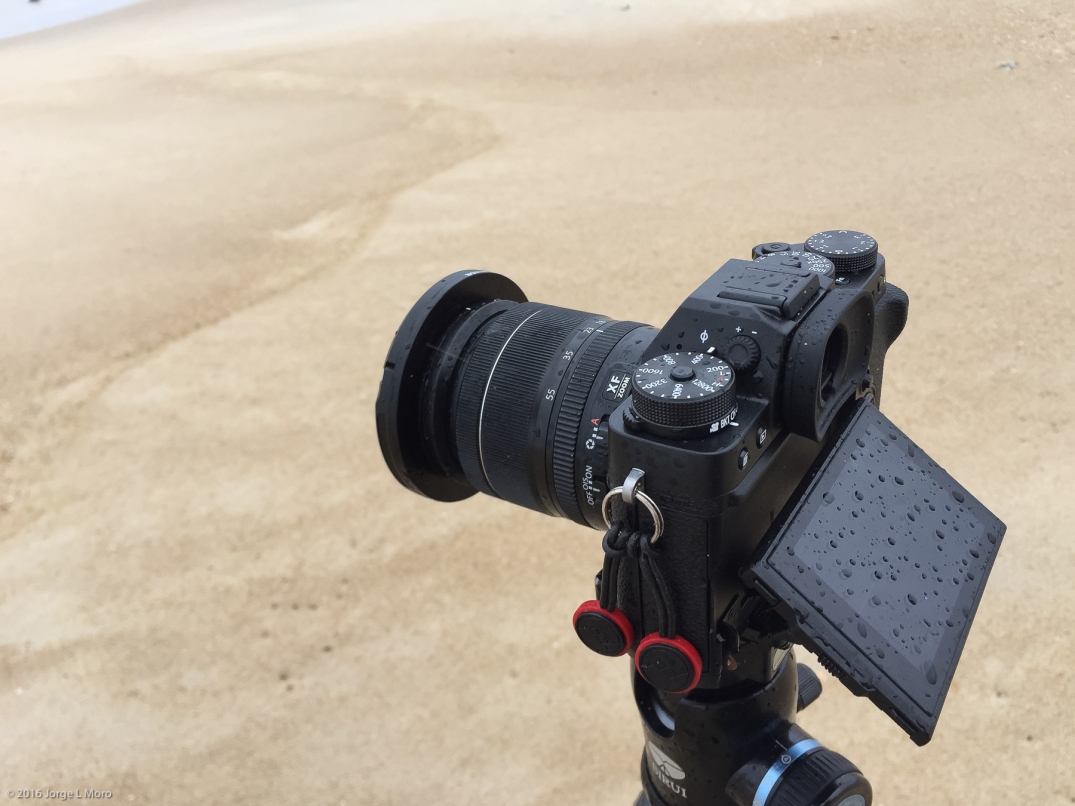
I own several camera bodies – well, I did. I fried my Fuji XT-2 in saltwater while in Myrtle Beach South Carolina a couple of weeks ago so now I’m down to my XT-1 and my XH-1.  I’m only taking my XH-1 plus three or four lenses.  I may or may not pack the 35mm F1.4 which is an amazing lens, and weighs just mere ounces.  I haven’t yet decided.

Caymans Gear X-H1 body, no grip, 12mm Zeiss 2.8, Fuji 16mm 1.4, Fuji 18-55, 35mm 1.4 (possible)

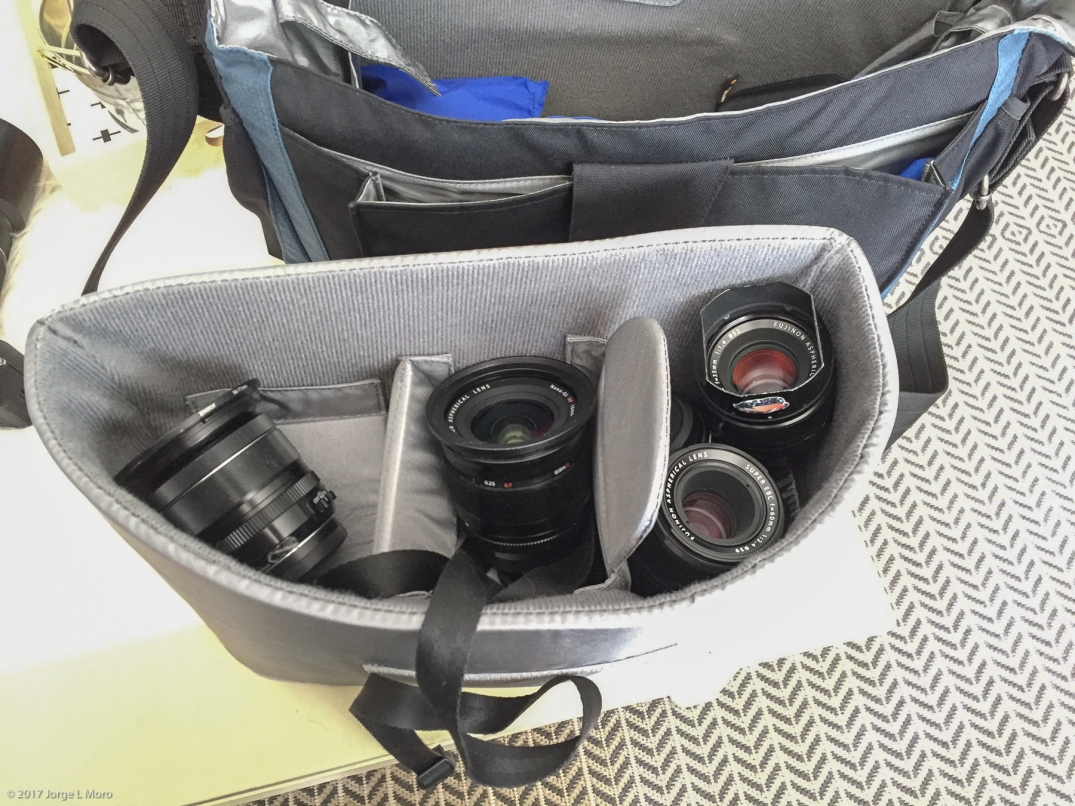
This is the gear that’s in my Lowepro bag.  The XH1 without the grip; The Zeiss 12mm 2.8 for those expansive vista’s I’m hoping to see and capture.  The 16mm 1.4 which is the only water resistant lens I’m packing, my 18-55 which is my “don’t leave home without it lens”, and maybe, possibly I’ll throw the 35 1.4 in there since it weighs mere ounces.  Also in the bag as I mentioned before will be my three drone batteries, plus my 10.5″ iPad (not shown in any images).

Gear going in the check-in baggage

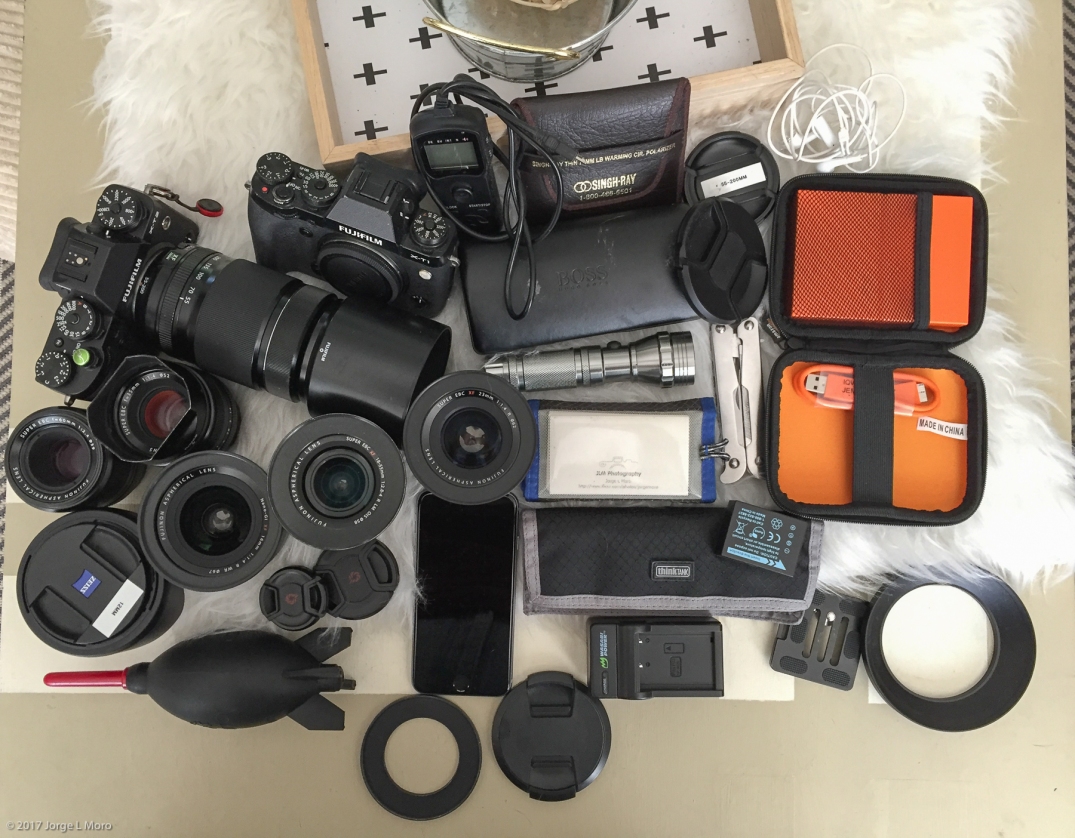
This is what’s going in the check-in.  Mostly miscellaneous cables, adapters, battery chargers, Drone and controller, camera lens filters.  I’m only packing two spare memory cards plus the two I have in the camera out of fourteen or more that I own.  Each set of cards can handle 1599 jpeg fine+raw images.  If I’m pressed for space I can always switch to raw only.  The reason I shoot jpeg fine in addition to the compressed raw is so that I can review the full size jpeg on the back of the camera if I need to, though I rarely chimp; if I only shoot in raw, I’ll only be able to see a small basic jpeg which doesn’t give you a true an clear final representation of the image. I have the XH1 setup so the cards are set to “backup” in camera;  Once the cards are removed from the camera they will be separated so that none of them are in the same place at the same time.  Since I’m not taking the XH1 battery grip to save space and weight I’m taking only two spare NP126S camera batteries in addition to the one in-camera.  I’m packing a charger in the above mesh bag – it’s not shown here as I was actually charging batteries – but it’ll be in there. In the checked in bag will also be my camera and lens cleaning kit. The square, black pouch on the right contains the power brick and cables for the drone that allow me to charge three batteries at once.  That accessory I must say is one of the best things I bought for the drone! Each battery charges in sequence, and the LCD display shows what the actual voltage to each battery is so you know if the batteries are failing or not.  It also came with a car charger that I can plug into my cigarette lighter – since I won’t be renting a vehicle I won’t be packing.

This trip is a short, 5-day travel & stock photography trip with some down time thrown in.  No pressure, no stress, just shoot, relax, eat, drink and repeat.

More when I return.

Thinktank CityWalker 30 Review Part II

In my prior post here I gave a preliminary overview of the TT CW 30 after only a week of use as an office messenger bag, and a light-duty camera bag. I’ve now had the pleasure, and I mean pleasure of using it on two separate outings besides as a daily carry.  The first was four day stock/travel image trip up north, and the second was to photograph an event.  I’m going to present images here, with descriptions, as I unpack my bag after the event;  in all honesty it’s a mess as I swapped lenses – between by 16mm, 23, 35, 60mm and the 55-200.  I did not use the 18-55 nor the 12mm Zeiss even though they were in the bag as well.  In other words ALL the lenses I own were in the bag.  For this event I used the very well padded insert that came standard with the CW30, and I threw in the rain cover as we were under the threat of rain most of the day.

In the following images I try to show the contents of the bag and how much you can carry.  I will say I could still have put MORE into the bag as I had one inside end pocket, and both outside mesh pockets available!  This is an insane amount of stuff! During the event I had the bag slung across my should messenger style, I had the main cover open and flat against my hip thereby allowing me access to all my gear inside.  What I truly enjoyed was being able to swap lenses on the fly and using the outside mesh pockets to hold a lens (very easily) and the lens caps and other miscellaneous stuff.

So here goes:  And, if anyone has any questions, please let me know.

MORO1936
Just for those that are interested this is an image of the bag from last weeks photo trip in which it rained for two of the four days, I took this in a downpour (you can see the rain pounding the water).  I did not break out the rain cover and the bag still remained dry.  Rain water just beaded up and rolled off.
IMG_5692
The Thinktank Citywalker 30 this morning when I came downstairs.  It’s fully loaded exactly where I dropped it after walking in the door after yesterday’s event.  All I did last night was pop the SD card out and upload and backup my images.
IMG_5672
Opening the bag you can see the gear I used.  The camera with the long lens was laid across the top of the other lenses, and I was still able to close the bag. Keep in mind this is all mirrorless gear so… smaller than dSLR, and so much lighter.  I carried this bag as is, fully loaded, all day and it was no bother.  Plus, accessibility to the gear was so easy I didn’t break step once.
IMG_5671
In this image I’ve removed the X-T2 with the 55-200 that was laying across the top and you can see some of the lenses.
IMG_5677
Here I’ve “prettied” up the lenses and stood them up.  As you’ll note, there is PLENTY of room for even more lenses, or accessories.  The Fuji gear being so compact, except the danger of the lenses banging into one another you can fit more than one as you can see on the right.  That’s my 35 1.4,and the 60mm 2.4 Macro.  Down further, I’ll show everything that went into, and came back out of the bag.
IMG_5678
Here I have pulled the insert out of the bag.  The insert is very large and spacious.  Much, much larger than the simple Jill-E insert I showed in the my last post which is the one I use on a daily basis to carry a camera and other office files to/from the office.  The black strap is my camera strap.
IMG_5681
In this image I’ve removed the top layer of camera and lenses.  The Citywalker 30 comes with two extra dividers which I’ve used here.  I also pulled a third divider, seen on the right side from my daily carry Jill-E bag as I needed it.
IMG_5682
In this (lousy) image as I used my iPhone, I have emptied the slot on the left and the right side.  I’ve pulled back the divider in the center – which you can see towards the bottom of the image here to expose the extra body, my X-T1 that I took with me as a spare body.
IMG_5684
After pulling out the insert this is all the “other” stuff that fit around the insert.  That’s the beauty of this amazing bag!  And, I still had the two very deep pockets on the inside left and right.  They are so deep and large that on my way to the event one of them held my Fuji 55-200 with the lens hood attached and it was not reversed either!  Amazing capacity!!  In here you can see my Singh-Ray filter, camera strap, the blue pouch (rain hood for the bag), ThinkThank memory card holder, external 4TB hard drive in black case, and an extra pair of glasses just in case.
IMG_5625
The pocket on the flap held my Giotto Blower, access card, keys, and a iPhone 10′ charging cable and adapter.  It can hold so much.  If you were traveling on public conveyance it will easily hold all necessary maps, boarding passes, iPad, whatever you want.  the pocket runs the length of the flap/bag so it’s huge.
IMG_5687
The Thinktank Citywalker 30 also has a velcro pouch which rests up against your hip to accommodate a 15″ laptop.  It’s not shown here as I did not take it with me, but my bag holds the 15″ MBP and a large moleskin notebook as well.  As you can see, I packed EVERY lens I own; the only one’s that didn’t get any use was the Zeiss and my Fuji 18-55.  I even threw in an extra tripod plate for the X-T1 that never saw any use, a battery charger just in case, an extra phone, flashlight, and the Thinktank four battery holder as well as the Thinktank SD card holder.  All the lenses except the 35 and the 60 were pre-packed before leaving with the appropriate step-up rings to bring them all to 77mm to take advantage of my dSLR 77mm filters, and matching 77mm lenscaps. As you can see, the lens caps, once they came off, never went back on.

I hope you guys found this review helpful.  If you take away ONE thing from reading this it’s that the TTCW30 is truly a beautifully crafted bag with room for just about all your gear if you are a mirrorless shooter.  dSLR shooters will also be very happy with the capacity, and especially the depth of this bag.  There are other pockets I didn’t even mention here – but I do believe I mentioned them in part one of the review.

Let me know what you all think.  I did discover recently this bag has been discontinued so if you want one you better hurry.  I got mine from B&H for 79.00 with free shipping which is an amazing deal!  Much less expensive than Amazon (at the time i purchased mine a couple of weeks ago).

X-T2 Dual Card Slot (quick note)

I grabbed my X-T2 knowing I had taken out the SD card from slot 1 and I was very, very surprised when the camera fired off an exposure with only a SD card in slot 2.  Per my older blog post, if there is no card in slot 2, but only in slot 1, the camera locks up.

img_5210
Medical Helicopters. Acros + red Filter, X-T2, 35mm 1.4 lens. What an outstanding combo!

X-T2 in the Rain

img_5174
X-T2 with the non-weather resistant 18-55
moro0665
X-T2, 18-55, ACROS and Red Filter
moro0544
A Perfect curl
moro0408
25 second exposure, X-T2 + 18-55
img_5176
X-T2, 18-55, in rain and wind.  In the 100% view, you can see the rain whizzing past the lens


Today was a very windy and rainy day thanks to the outer bands of Hurricane Matthew.  Since my spouse had work to do, and I didn’t want to be in the way I decided to head out to the shore and see if I can capture some of the action.

I took my X-T2 with the 18-55 mounted as I did not want to be swapping lenses in the rain on a beach, in a storm.  So I worked with what I had, even though I had all my lenses in my backpack.

The X-T2 performed flawlessly.  No complaints whatsoever.  I will mention here the X-T1, which has served me so well since early 2014 would have worked in the same, perfect way.

What I found out to be the biggest asset today was the flip-out LCD when the camera was in the vertical orientation on the tripod!  That was fantastic!  Just great.  The second amazing item was the battery life; I shot a total of 370 images, all tripod, most between 6 to 29 seconds, with long-exposure noise reduction on, AND, every single image using the rear LCD, plus, at least for me, an inordinate amount of chimping as I wanted to make sure the image was sharp due to the heavy winds.  I just checked and I still have TWO bars left!  Much, much better than my X-T1 would have done under the same circumstances.

All-in-all the X-T2 came through with flying colors, as did the 18-55 even though it spent several hours in rain from a slight drizzle, and a downpour towards the end of my day.  I was soaked, and tired, the camera could have kept going.


A Funny Thing Happened on the way to a Lens Firmware Update

Well, maybe not funny, but interesting from my perspective.  I downloaded into separate folders on my desktop Fuji’s latest firmware updates for my lenses so I’d be ready to run the updates on Saturday morning.  So, here I sit, early morning, coffee in hand, ready to go.

Without giving it much thought how did I decide to install the updates?  Least used lens FIRST; So, here’s my order from least favorite to favorite:  23 1.4,  35 1.4 (though i LOVE this lens),  then the 16mm 1.4, and finally my all-time favorite, don’t leave home without it lens:  the 18-55.

Not a hugely massive post, but I found it interesting how I picked them without even thinking about it!

Always, always carry a camera

Today I took my grandson to my office to “help Poppop”.  We went out to lunch to an Irish Pub down the street from my office (sssshhh don’t tell his mom).

We had a great lunch.  My grandson used my X-T1 to snap a few images of me sitting across the table from him and I gotta say this kid has some skills!  Damn…

If he continues down this path who knows where it’ll lead.  But anyway, this is ALL ABOUT ME!  Me!  Me!  Me!

By the time I was ready to pay the check I noticed the afternoon light had changed directions and was now coming in high through this window.  The warmth was so inviting, and colorful plus those old kettles and coffee pots just glowed.  I snapped two images.  This was the better of the two.  Enjoy!

I LOVE the warmth of the kettle and the wood with the sun streaming through the stain glass. X-T1, 23mm F1.4 @ F2.8, 1/250th second, ISO 200 Taken at lunch inside a local cafe ( glad I had the camera with me) RAF process in LR.  Straightened, increased shadows. That's it
I LOVE the warmth of the kettle and the wood with the sun streaming through the stain glass.
X-T1, 23mm F1.4 @ F2.8, 1/250th second, ISO 200
Taken at lunch inside a local cafe ( glad I had the camera with me)
RAF process in LR. Straightened, increased shadows. That’s it

I’m outta Hea-ah…. The Gear reviewed

One more week.  One more week.  One more week.

Some images of the gear I’ll be taking and how it’s all packed.  I think I’ve swapped bags two-three times now but I believe this will be the final configuration. Keep in mind this is a 10-day ROAD trip except for three days when I’ll be on a boat and an island.  So, for those three days, since there is no electric all the chargers and other stuff in the red pouch and probably the laptop stays in the car or on the mainland hotel room.  The camera gear, and one of the drives, probably the primary, will come with me in addition to all my gear and food I’ll need for three days.

Next year, I’ll be spending several weeks in Alaska.  That will require a flight I’m guessing that I’ll probably ship via UPS most of my gear including the tripods and clothing, and only take on board the aircraft the camera gear.  I did this the last time I was shooting out in the Southwest and it worked out perfectly!

On a quick note I do plan to post images here daily except for the three days when i won’t have any cell, or wi-fi service.  In addition I’m thinking about showing which lens was used on that day.  Of course these will be gross numbers at first, not based on keepers just total shutter presses.

PLEASE PARDON THE IPHONE IMAGES.  NOT SHOWN:  Stack of Business cards!

IMG_3924
The Bag that I’ve decided to take as the primary carry-all camera gear bag: the Gootium 21218 Canvas & Leather Cross Body Messenger from Amazon. $29.99US. ONE OF THE BEST BAGS I’VE EVER CARRIED CAMERA GEAR IN PERIOD! So many pockets and nooks and crannies I love this thing! It has SIX, count ’em SIX outside pockets! Each one has a purpose which I’ll demonstrate as we go through the gear.
IMG_3925
Outside Pocket ONE. Not closable. Giotto Blower, Flashlight (Torch for our overseas friends) Rotroring Pen. Deep Inside: Tripod Plate. Moleskin Notebook. Fuji RR90 Remote. Right next to this pocket, Pocket TWO I keep my Tiffen Filter Pouch which I’ll break down in another image further down.
IMG_3928
Pockets THREE AND FOUR: These close with a tab. Here, I keep those items that I won’t be accessing on a regular basis. In my case: Thinktank SD/CF Card holder with 394Gigs of 32 and 16G cards in pocket #3. In Pocket #4, four extra batteries in a Thinktank battery pouch. Again since I don’t have to access these items as much as the others the pockets will be clasped shut.
IMG_3929
Inside the bag, in order to give it some structure, is another Amazon Item – the Jill-E Design #340993 Camera bag Insert in Black with three dividers (it comes with more) And yes it’s filthy with sand, and dirt. It needs a vacuuming out. Inside is a zippered pocket that will hold wallet, keys, phone whatever you can throw in there.
IMG_3931
Clockwise: Rotring Pen & Moleskin Notebook. Zeiss 12mm F2.8 no lens shade. Fuji 35mm F1.4 w custom lens hood. Giotto Blower. Pen camel Hair Brush. Tiffen Filter Pouch (open) with two Polarizers in top pockets. Bottom two pockets contain step-up rings to bring ALL lenses up to my 77mm filter size. 77mm Singh-Ray Warming Polarizer. Tiffen 3-stop ND filter, B+W 10 Stop ND filter. Think tank SD/CF card holder with 394G of SD Cards. Four spare batteries. Fuji X-T1 with the 18-55 lens and custom lens shade. Fuji 55-200 with custom shade. 23mm F1.4 with custom shade. 16mm 1.4 no lens shade. Sirius Tripod Plate for full-size tripod. Also packed a smaller plate for my folding travel sirius tripod. Fuji RR90 Remote
IMG_3933
Camera and Lenses left to right: Zeiss Touit 12mm 2.8. Fuji 16mm 1.4. 23mm F1.4. 35mm 1.4. 55-200. X-T1 with the 18-55 lens. Yes, that is a Nikon lens cap on the 18-55. I go through lenscaps all the time so I buy them by the pound. I don’t care what it says on the front. Whatever is cheap. All the lens shades/hoods are custom. They are all screw-on, and the lenscaps all fit.
IMG_3935
The loaded messenger bag zippered and buttoned down for travel. Again: this bag is amazing. I’ve owned it for two/three years now and it goes with me wherever I travel. At each end of the bag are two more pockets. Number FIVE and SIX. Pocket Five – which clasps shut securely contains my Zeiss 12mm F2.8, and Pocket Six contains the 16mm F1.4. Inside are the rest of the lenses and the X-T1 with my go-to lens, the 18-55
IMG_3936
This Lowepro Exchange Messenger Bag has three dividers. It’s very deceiving as it also has very slim pockets on the outside – and one of them has a zipper for car keys, documents, etc. I am folding this bag up and taking it in my luggage as a bag I’ll use when I want to walk around and travel light with the camera and a couple of lenses. This bag is from Amazon, though currently unavailable I think it was like $30.00
IMG_3937
Ditto. Same as above. It has the two squeeze clasps for the top lid that covers everything including the outside pockets. Very inconspicuous.
IMG_3939
In a separate medium size LL Bean pouch – which is water resistant outside, and soft thick protective sheepskin inside I carry the following Two USB3.0 Cables. AData 1TB Travel Backup Drive. AData 1TB Travel Primary Drive. iPad SD card Apple connector (may stay behind if I don’t take the iPad) Cigarette lighter adapter for the Wasabi Battery chargers. Wall plug with two USB ports for phones and other use. Phone charger cable – this in addition to the one I keep in my car to charge on the road. SD/CF LExar USB3.0 card reader. Two Wasabi Battery chargers. 11.6″ Macbook Air, 256SSD, 16G, with identical software that I have on my desktop and other laptop. I also have presets that upon importing images from the SD cards they go to the primary external HD. At the same time, a duplicate copy is placed on the backup drive. One drive will always be with me at all times, the backup will remain in the vehicle, or the hotel safe. The MacAir has an identical pouch but larger for it to fit in.

I Thought it was a Gimmick

The screen at the back of the X-T1.  Yup.  I was “one of those” that thought I would never use that.  Wrong.  I have found myself using it on quite a few different occasions.

Case in point: this image.  Instead of having to lay prone on the ground, or kneel oh so painfully, i merely placed the X-T1 on the ground and popped out the rear LCD panel to have a better look.

X-T1, 18-55, 1/9th F11, ISO 200, camera sitting at edge of dock, Classic Chrome finish in LR via the raw file (click for larger view)
X-T1, 18-55, 1/9th F11, ISO 200, camera sitting at edge of dock, Classic Chrome finish in LR via the raw file
(click for larger view)

More of my work can be seen at Drama King Images or at my Flickr

Incoming Tide at Dusk

One of my last images on my photo trip up to Maine.  This was on the banks of the Penobscot River.  And you have to admit — that Fuji Green is freakin’ amazing!

Hence why when I shot film — even as recently as five years ago with my medium format gear I opted for Fuji Velvia!!  Eye-popping color for sure especially the greens!

The Fuji film emulations as I mentioned in my previous post are one of the many reasons I love the Fuji cameras!  Heck, even going back to one of my first Fuji dSLR’s a Fujifilm S1Pro.  That was a beast of a camera. Used Nikon lenses on it.  The skin tones were to die for, and the greens and yellows:  unfathomable color depth.  I remember it was 3.1MP and I basically shot in jpeg only.  The BASE ISO was 320!  The low light performance up to around ISO 800 was pretty darn good!  Fuji has had it going on for quite some time now!  Their Ju-Ju sauce just works.

Incominig Tide. Penobscot Bay at dusk. Fuji X-T1, 18-55 lens @ 55mm, 14 seconds, F14, ISO 200, 3 stop ND, and Polarizer, Tripod, Remote (click for larger image)
Incominig Tide. Penobscot Bay at dusk.
Fuji X-T1, 18-55 lens @ 55mm, 14 seconds, F14, ISO 200, 3 stop ND, and Polarizer, Tripod, Remote
(click for larger image)

You can see more images at Drama King Images or at my Flickr page

The Nikon Gear is now Gone

Well, the Nikon D800 is on it’s way to it’s new home.  That was my last Nikon body.  I am keeping both Nikon flash units because I’m certain they will work with some flash triggers and the Fuji.  My 18-35G series, less than two year old lens  has been acquired by one of my kids for use on my old D700 body, and the less than six month old 50mm 1.8G she will probably get as well unless I sell it.

This pretty much empties the Nikon closet for me.  Now it’s all Fuji or nothing.  In a way I knew this day would come ever since I got my first Fuji – the X-E1 back in early 2013 together with the 18-55 lens and the 35mm 1.4.

The X-T1 came along in 2014 and I just fell in love with the handling, the files, and most of all putting the fun back into picture-taking even though I shoot for stock most of the times.  One of the best two features I’ve found?  1.  the viewfinder: It’s incredible; you can see what your image will look like before snapping the shutter! and then make necessary adjustments. I wasn’t much of a chimper before and even less of one now.  2.  The film modes. Even though I always shoot in jpeg+raw (except for odd miscellaneous family stuff) I find that setting the film mode in camera, then upon upload into LR I run the correct profile I’ve created on the raw files, truly generates some sweet looking raw files as well as jpegs.

In less than three weeks I’ll be heading out for a major stock shooting business trip.  I expect to come with with many, many images.  Well, consider this:  based on the number and size of SD cards I have in m PocketRocket, I can shoot 8,280 images, jpeg+raw, before I have to reload.  Sweet huh?

A few years ago I was out in the Southwest and came back with 11,250 images over eight days.  If you double up because of the jpeg+raw I came back with 22,500 total images.

Enough jabbering for tonight.  I’m hoping to at least start separating some gear and packing it to see how it’s all gonna fit.  Should be much easier now that the D800 and lenses won’t be going with me.  But we’ll see as I anticipate using the gear a few more times before I leave.

In closing I leave you for now with an image of one of my favorite subjects:  Lobster Floats

Found abandoned old Lobster floats. I give them a good home. Fuji X-T1, 55-200 Lens, Tripod, raw processed as Velvia Exposure not available (click for a larger image)
Found abandoned old Lobster floats. I give them a good home.
Fuji X-T1, 55-200 Lens, Tripod, raw processed as Velvia Exposure not available (click for a larger image) This is a FULL 9MB File.  Click on it at your own risk 🙂

You can see more images at my site:  Drama King Images or at Flickr